Server Side Swift With Kitura And Bluemix
IBM Bluemix is a cloud Platform as a Service solution that enables you to concentrate on writing your application while Bluemix handles most of the DevOps-y stuff like the networks, servers, storage, and software dependencies. It supports several programming languages, including Swift. It’s also easy to use - all you’ll need to manage your service is a web browser. You can even write your Swift code in your browser in the IBM Swift Sandbox.
This tutorial will take you over the basics of getting started with Kitura and Bluemix. First, we’ll set up Bluemix so we can upload our app and spin up a server with minimal effort when we’re ready. Then we’ll work through Swift Package Manager and Kitura step by step. Once some familiarity has been established, we’ll build something useful and upload it to Bluemix. We’ll build a small service that takes a cron expression and returns a human readable description of that expression, using the SwiftCron package from Swift Package Manager.
Setting up IBM Bluemix
To get started, head over to IBM BlueMix and sign up for a free 30 day trial. When you sign in you’ll be asked to name your organization, which is essentially your team that you can add other people to, and choose its location. Just choose the location that’s closest to you - the options are limited to where Bluemix currently has infrastructure set up. You’ll then be asked to set up a space, which is how Bluemix organizes apps and services.
You’ll then be navigated to the dashboard which is, understandably, empty. Click on Create App, and we’ll make things a little bit more lively.
Bluemix is built off of Cloud Foundry, which is an open-source Platform as a Service(PaaS). Bluemix then provides boilerplate for a few popular web frameworks like Python’s Flask framework to get you started instantly. Unfortunately, a boilerplate offering doesn’t yet exist for Swift, so we’ll be scrolling down past these enticing options to the Cloud Foundry Apps section. Choose Runtime for Swift.

Set your app’s name. I chose SwiftCronServer, and left the host name as the same auto populated value.
Only a few minutes in and we’re already cranking up a server. Wasn’t that easy?

Go back to the dashboard and you should be able to see your new app.
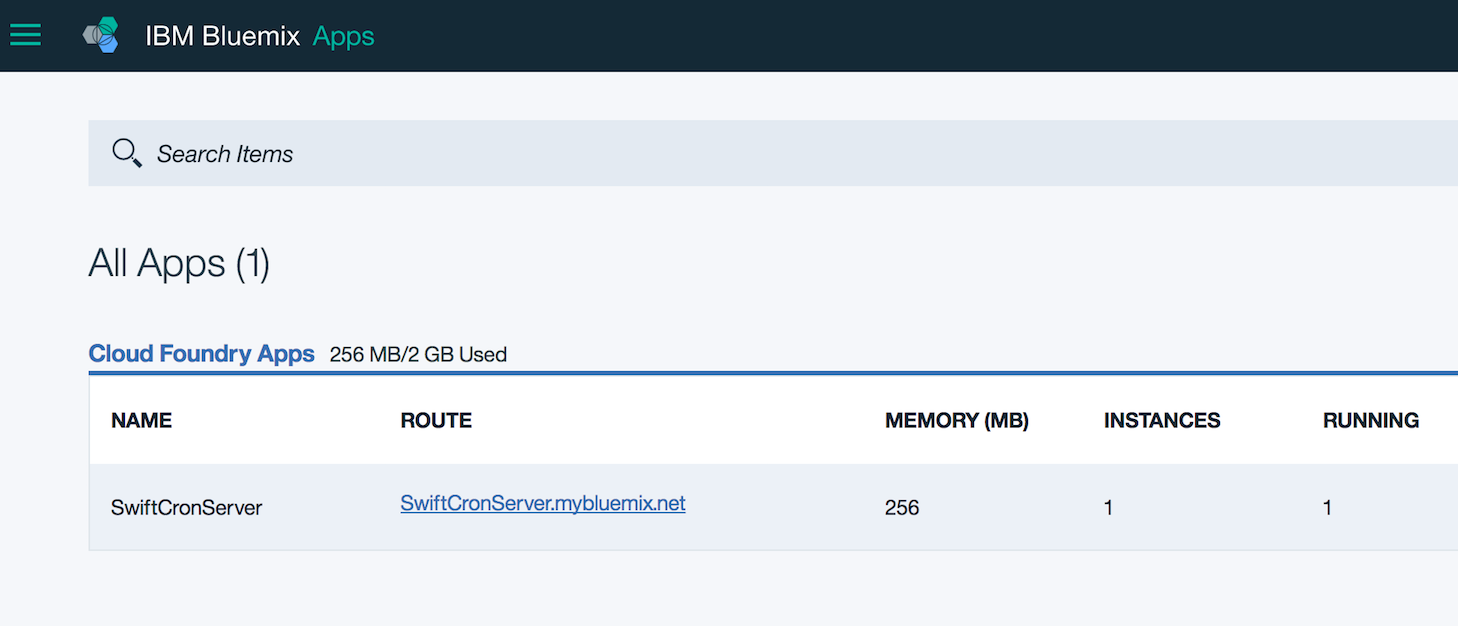
Click on it. Then, scroll down to the Continuous Delivery section and click on Enable.
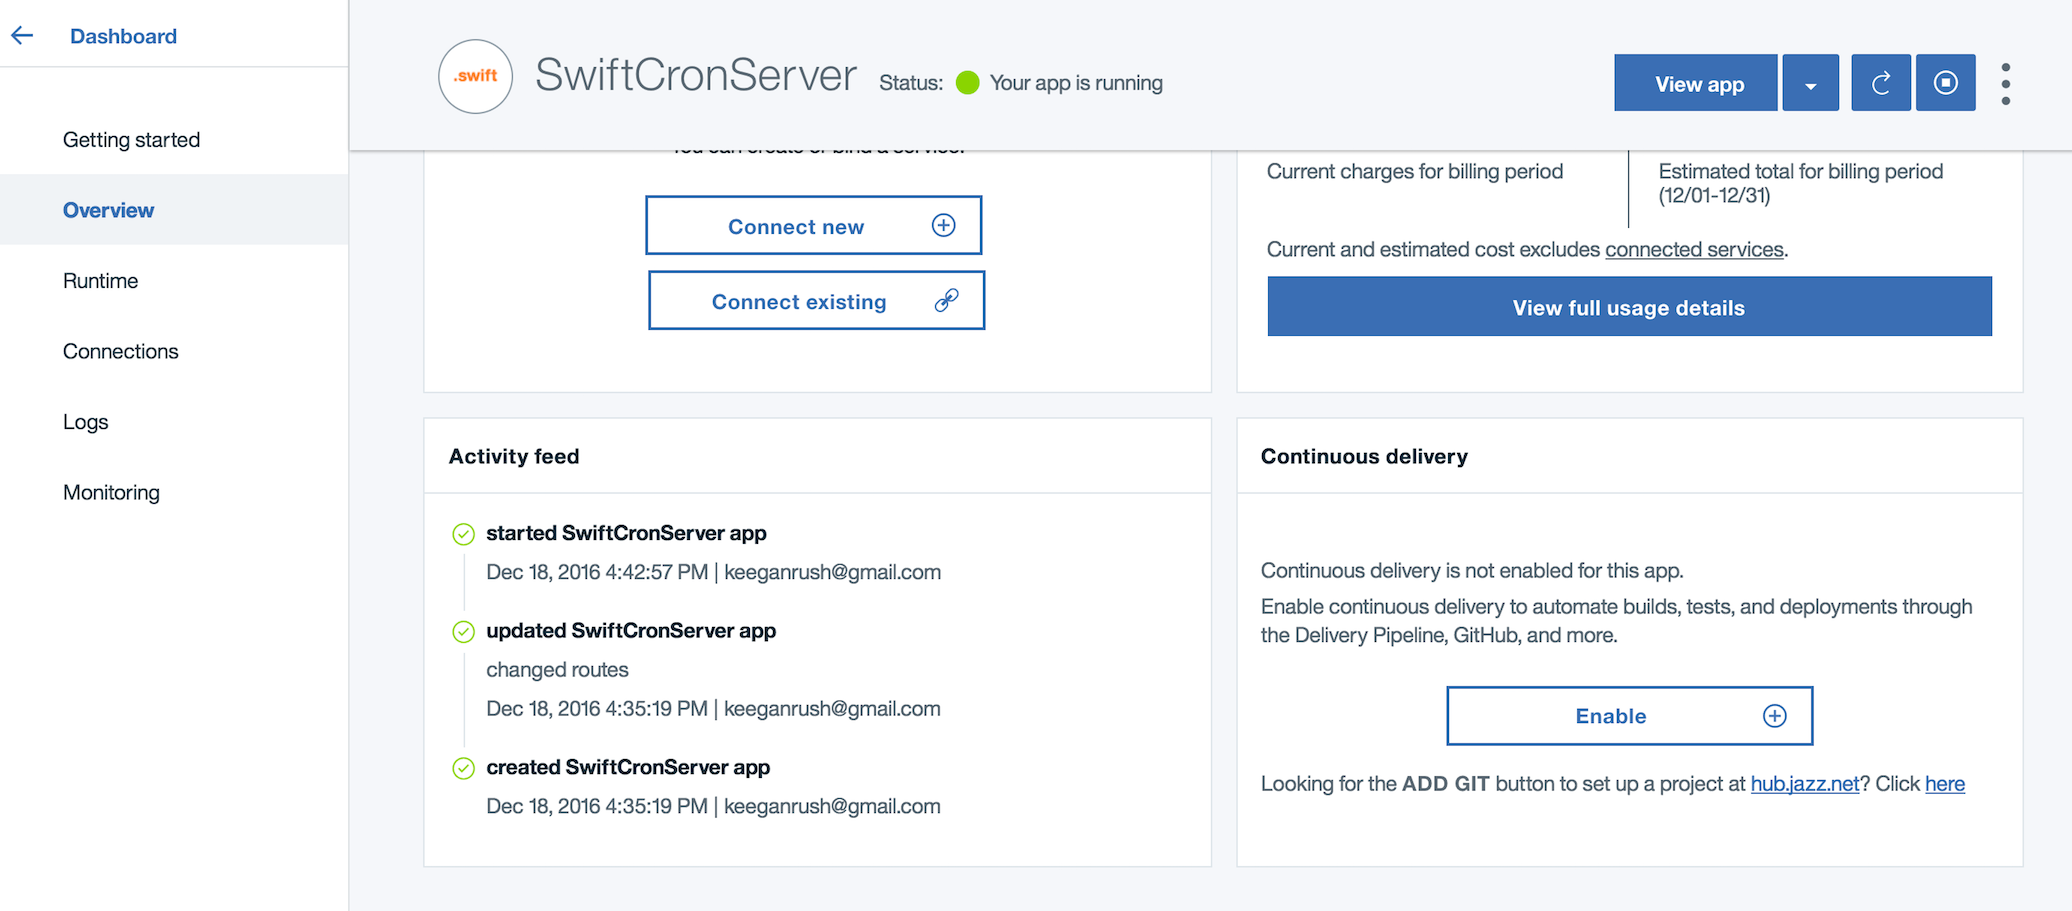
You can deploy your code to Bluemix manually using a command-line interface, but it’s easier and more reliable to just push it upstream to Github and have it build automatically.
On the Continuous Delivery Toolchain page, scroll down to configurable integrations. Link your GitHub account, and then click on Create.

Getting Comfy with SPM and Kitura
Now it’s time to get a Kitura project running locally. Create a new folder for your project.
mkdir SwiftCronServer
cd SwiftCronServer
Both Kitura and the Cron library we’ll be using are available as packages through the Swift Package Manager, so we’ll create a new project using SPM with swift package init —type executable
There are four options for the type specification: empty, library, executable, and system-module.
- empty has empty Sources and Tests folders, and a Package.swift with the package’s name set to ‘empty’
- library has a Sources folder with a swift file named after the folder it was created in (hereafter referred to as the package name) with a struct named after the package. It also has some boilerplate set up for testing and a Package.swift with the package name
- executable has a Sources folder containing a main.swift, an empty Tests folder, and a Package.swift with the package name
- system-module creates a package.swift for you and a Clang module map
Great! Now let’s add Kitura and SwiftCron as dependencies in the Package.swift. Change your Package.swift file to look like this:
import PackageDescription

let package = Package(
    name: "SwiftCronServer",
    dependencies: [
        .Package(url: "https://github.com/IBM-Swift/Kitura.git", majorVersion: 1, minor: 2),
        .Package(url: "https://github.com/TheCodedSelf/SwiftCron.git", majorVersion: 0)
    ])
You should now be able to run swift build and Swift Package Manager will clone the packages listed in the dependency array as well as any dependencies that those packages contain.
Note:
If you have troubles getting the right tagged version of the dependencies listed in Package.swift, try the following:
- If it’s your repository, make sure to push the tags of that dependency:
git push —tag - If you’re certain the tag exists in the remote repository, but Swift Package Manager seems to be struggling to pick it up, delete the cloned repository to cause SPM to pull it again:
rm -rf Packages/MyRepository-Version
Now we can run our project by typing .build/debug/SwiftCronServer into the terminal:

Now that we’ve got a Hello World SPM executable running, we’ve got three steps remaining:
- Make it into a Kitura app
- Integrate SwiftCron to make it a ‘useful’ Kitura app
- Put the app on Bluemix
Start off by replacing the contents of main.swift with the following:
import Kitura

let router = Router()

router.get("/") {
    request, response, next in
    response.send("Hello, World!")
    next()
}

Kitura.addHTTPServer(onPort: 8090, with: router)

Kitura.run()
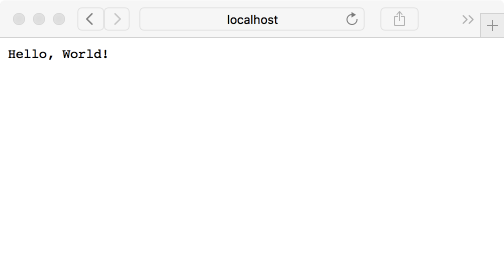
You can build and run the project again and open a web browser to http://localhost:8090/ to see the results.
swift build
.build/debug/SwiftCronServer
Building something useful
Now we’ll start using SwiftCron. Update main.swift to look like the following:
import Kitura
import SwiftCron

let router = Router()

router.get("/:cron") {
    request, response, next in
    defer {
        next()
    }

    guard let cronString = request.parameters["cron"],
        let cronExpression = SwiftCron.CronExpression(cronString: cronString) else {
            response.send("Invalid cron expression.")
            return
    }

    response.send(cronExpression.longDescription)
}

Kitura.addHTTPServer(onPort: 8090, with: router)

Kitura.run()
Let’s talk about what we’re doing:
let router = Router()
Create a router object that we can configure with different paths.
router.get("/:cron”)
Look out for GET requests to the root URL with a parameter named ‘cron’
defer {
        next()
    }
next is a closure that tells Kitura to begin executing the next handler in the path if there are any. The defer block will always be executed at the end of the function regardless of the code path that is followed, making it a great place to put cleanup code.
guard let cronString = request.parameters["cron"],
        let cronExpression = SwiftCron.CronExpression(cronString: cronString) else {
            response.status(.badRequest).send("Invalid cron expression.")
            return
    }
Get the parameter that was passed into the get request, and create a cron expression with it. If the parameter doesn’t exist, or it’s invalid and a cron expression can’t be created, notify the user with a 400 response (bad request) and a description of the issue. Then return, firing off the defer block above.
response.status(.OK).send(cronExpression.longDescription)
If everything is working, send a 200 response (OK) with the human readable description of the cron string that was passed in.
Great! Build and run the project.
In your browser, try call your Kitura server specifying a cron expression, for example, 0 12 * * * *:
http://localhost:8090/0%2012%20%20%20%20
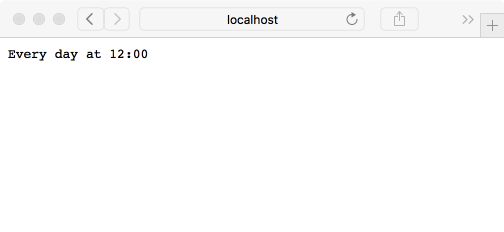
Try another: 42 7 11 5 3 *
http://localhost:8090/42%207%2011%205%203%20*
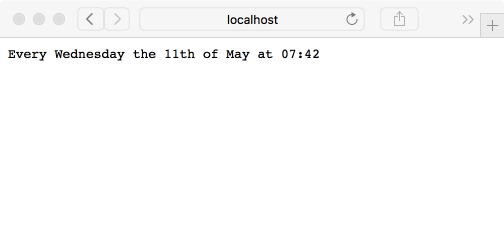
Now that everything is working as expected, it’s time to move it off of localhost.
Putting it on the cloud
Clone the Github repository that was created while integrating Bluemix and Github. If you look in the Sources directory, you’ll see that things are a bit more complex. The starter app follows best practices that we’ll be using. Take a look at main.swift and you’ll see that there is no configuration of routes. main.swift handles logging and starting the server - that’s all it does, just as it should be. All the hard work is done in the Controller class which exposes a port and a router object for main.swift to start the Kitura server.
Add the SwiftCron package into the Package.swift: .Package(url: "https://github.com/TheCodedSelf/SwiftCron.git", majorVersion: 0. Now we’re able to duplicate the functionality that we had in the local project that we had running. In Controller.swift, import SwiftCron add the following to init():
router.get("/:cron", handler: getCron)
Now, in Controller.swift, create the getCron function with the same logic that we had in the local project. You’ll see the getHello and getJSON functions as examples of what we’re trying to do.
- Declare a
getCronfunction:
public func getCron(request: RouterRequest, response: RouterResponse, next: @escaping () -> Void) throws {
}
- Add a log message at the top of the function:
Log.debug("GET - /:cron route handler…")
- And a response header:
response.headers["Content-Type"] = "text/plain; charset=utf-8”
- Implement the same functionality that you had in the local SwiftCronServer project so that you end up with the following request handler:
public func getCron(request: RouterRequest, response: RouterResponse, next: @escaping () -> Void) throws {
    defer {
        next()
    }

    Log.debug("GET - /:cron route handler...")
    response.headers["Content-Type"] = "text/plain; charset=utf-8"

    guard let cronString = request.parameters["cron"],
        let cronExpression = SwiftCron.CronExpression(cronString: cronString) else {
            response.status(.badRequest).send("Invalid cron expression.")
            return
    }

    response.status(.OK).send(cronExpression.longDescription)
}
Great. Your Controller.swift should look this example on Github: https://github.com/TheCodedSelf/SwiftCronServer-1482253378221/blob/0ef375dce8b18197faec29ebc9445b34cf354d90/Sources/Kitura-Starter/Controller.swift
Commit your code and push it. Your continuous delivery toolchain should build the app automatically. If it has any issues, hit the ‘restart’ button under Actions on the right.

Note: If you’re having any issues, such as the server crashing, you may want to tail the logs. The easiest way that I’ve found to do this is from the command line. Follow the ‘Getting Started’ instructions for deploying with the command line interface:
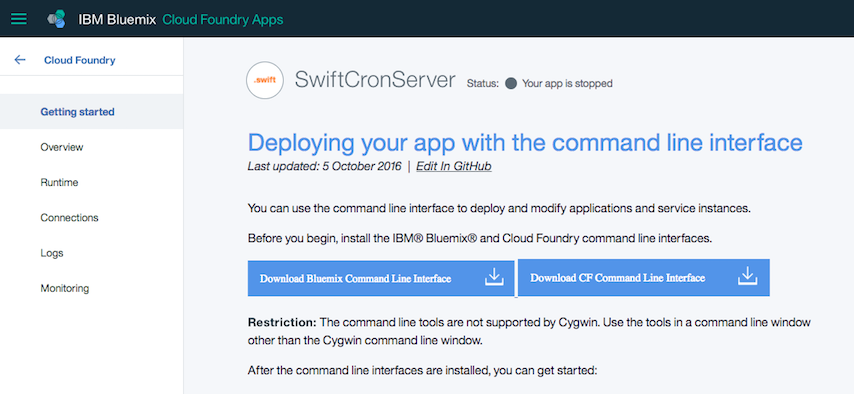
The most important steps to follow are the steps on the page to login to bluemix. Once you’ve got the CLI tools and you’ve logged in via the command line, do a cf logs MyAppName to receive any logging emitted by Bluemix as well as your app.
Now, access the route of your application. Mine was https://swiftcronserver.mybluemix.net/. Append a cron string to that URL to see your work in action (for example, 30 * * * * * would be https://swiftcronserver.mybluemix.net/30%20%20%20%20%20*).
Congratulations - A functioning and semi-useful Swift Server Side application.

Summary
We’ve learnt the following:
- How to use Swift Package Manager
- Basics of Kitura
- Using Bluemix to effortlessly deploy Swift Server Side applications
Hopefully this knowledge will inspire you to use a new and exciting toolset to execute your next great idea. Have fun!


Comments